 |
| Hug me. |
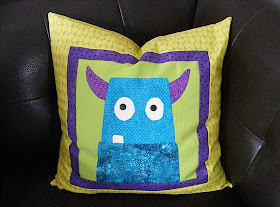
Start with one block. You can make one single block, right? Of course you can! And you can turn it into a fun pillow. Here's how.
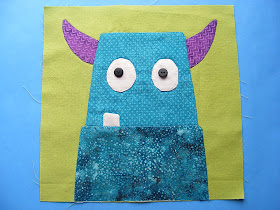
Make a quilt block.
Any block from any pattern. |
| Hey! Are you trying to frame me? |
Add frames
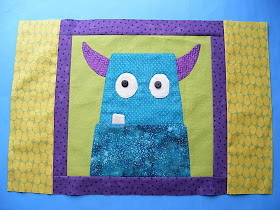
My pillow form is 18" square. That means I need the pillow front to be 18 1/2" square. (The extra 1/2" gives me 1/4" seam allowance on all sides.)My block is 10 1/2" square. That means it will finish at 10" square when I take up the seam allowances. So I need to add 4 inches on each side of the block.
I could add 4" frames all the way around, but I want a narrow frame inside a slightly wider frame. So I'm going to add a 1" frame all the way around, and then a 3" frame all the way around that. That will add up to the 4" frame all around.
 |
| Start with the sides. |
 |
| Add strips to the top and bottom. |
The inner frame is done.
 |
| Repeat for the outer frame |
Make the pillow back
I like using zippers on my pillow covers so I can take them off for washing. You can add the zipper to the side seam where the front is sewn to the back, but I think that sometimes distorts the look of the pillow. I prefer to add it to the middle of the pillow back. |
| You don't have to use two different fabrics. I just ran out of the green jellybeans. :-) |
Insert a zipper into the seam using this tutorial.
Unzip the zipper at least part way. Don't forget to do this or you'll be very sad! Sew the pillow front to the pillow back, right sides together, using 1/4" seam allowance.
Turn it right side out through the zipper opening. Slip your pillow form into the cover. Zip it up and toss it onto a chair.
Finished!
 |
| I knew you could do it! |
Best,
Wendi
i really like your information thank's for your share i this post ^____^
ReplyDelete